

Knowledge of pulse points and the process of checking is significant for nurses as part of their assessment and monitoring skills. This guide will focus on the nine pulse points in the human body and how to check pulse points with details of their positions and meanings. As a nurse, you would often palpate several of these sites. Although you might rarely palpate some of these, every pulse point is equally essential in certain circumstances.
What to Assess in a Pulse Point
When assessing a pulse point, consider the following:
Rate:
For adult patients, count the pulse rate for 30 seconds and double it if it is regular; for child patients, count it for 60 seconds if it is irregular. An auscultation of the apical pulse must always be followed by counting this pulse for one full minute. An adult patient’s pulse rate of 60 bpm to 100 bpm is normal.
Strength:
Evaluate the strength of the pulse and compare it with the opposite side, but it is not to be compared one at a time. Carotid pulse must not be compared because touching it can cause a vagal response. Strength grading is as follows:
0: Absent
1+: Weak
2+: Normal
3+: Bounding
Rhythm:
Determine if the pulse is regular or irregular.
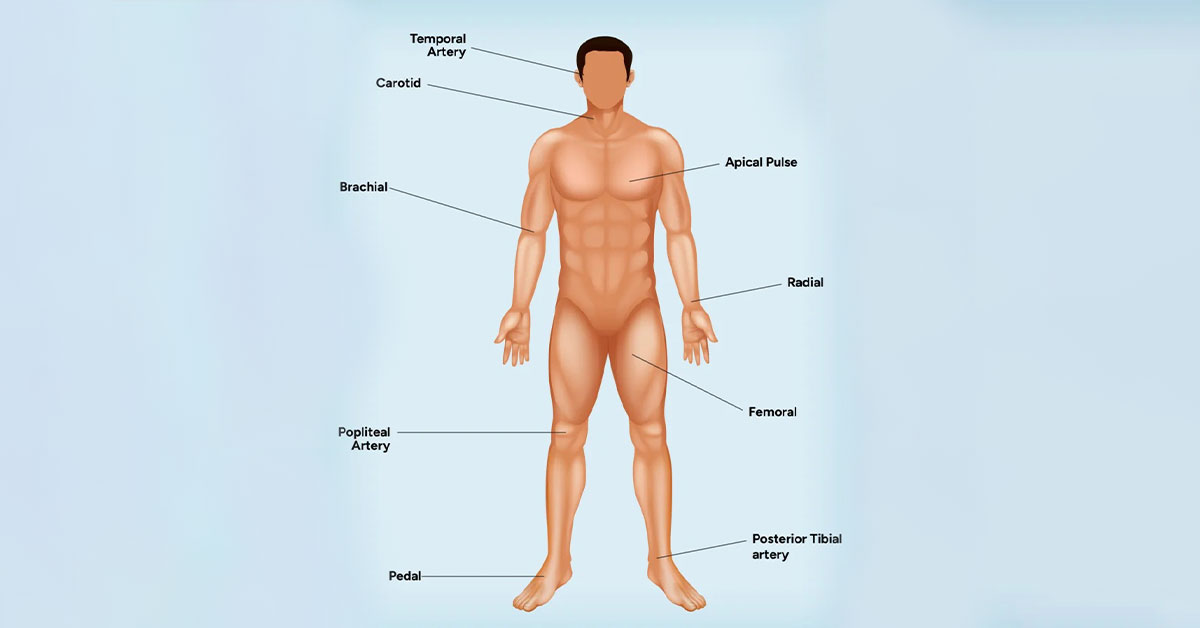
9 Common Pulse Points (Head-to-Toe Approach)
Adopting a head-to-toe approach makes remembering and performing pulse point assessments easier.
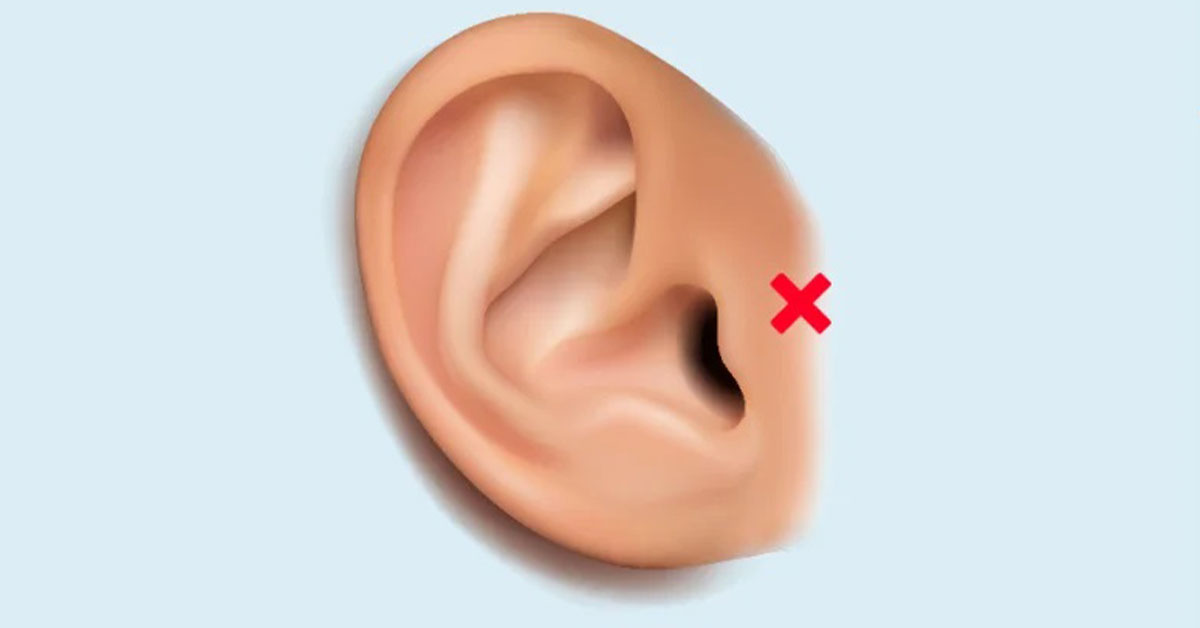
Temporal Pulse Point
- Location: Found in front of the tragus and above the zygomatic arch (cheekbone), this artery comes off the external carotid artery.
- Significance: Assessed during head-to-toe examinations of the head.
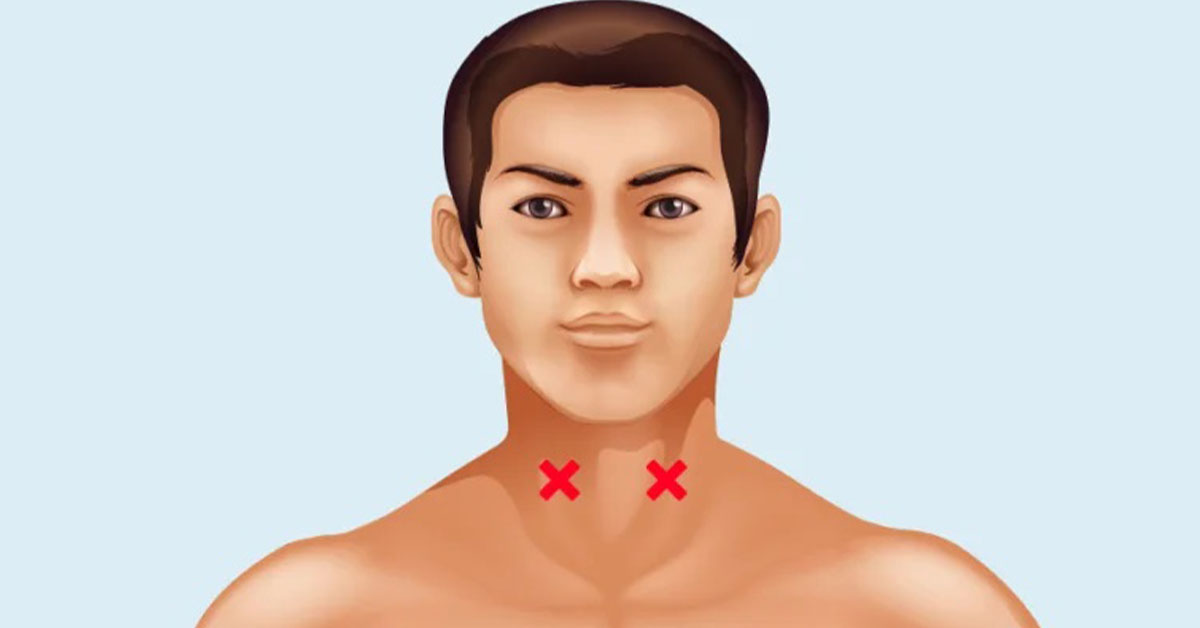
Carotid Pulse Point
- Location: Below the jawline between the trachea and sternomastoid muscle.
- Significance: Commonly used during CPR in adults. Palpate one side at a time to prevent triggering the vagus nerve, which can decrease heart rate and brain circulation.
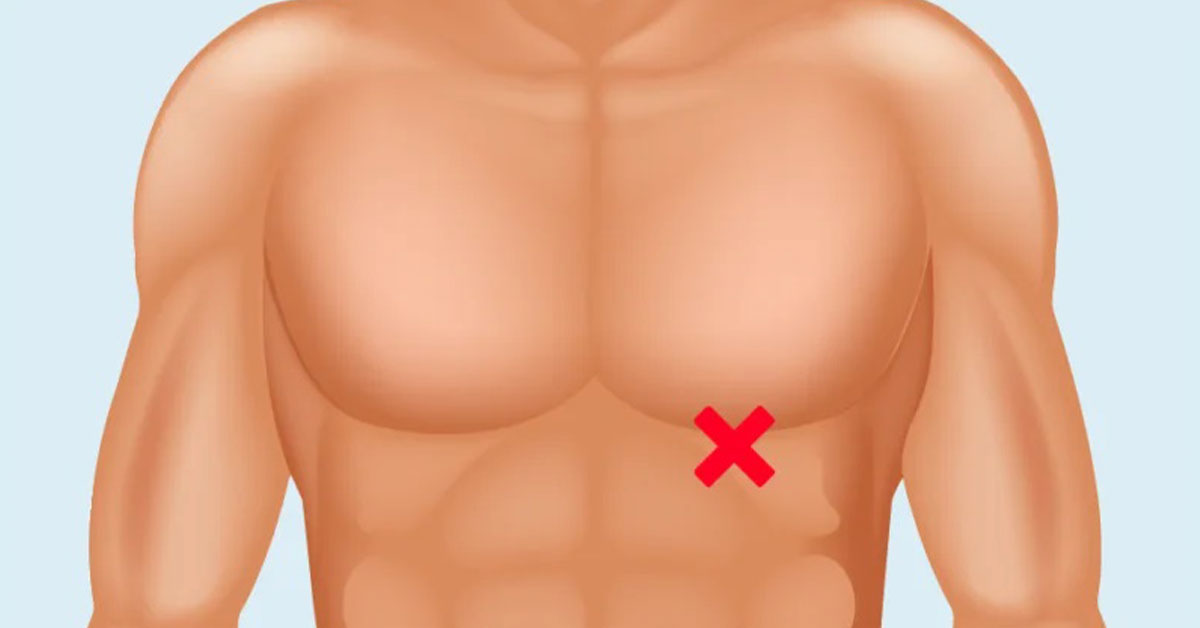
Apical Pulse Point
- Location: On the left side of the chest at the 5th intercostal space midclavicular line.
- Significance: Assessed during head-to-toe examinations and before administering Digoxin. Always count the pulse for one full minute.
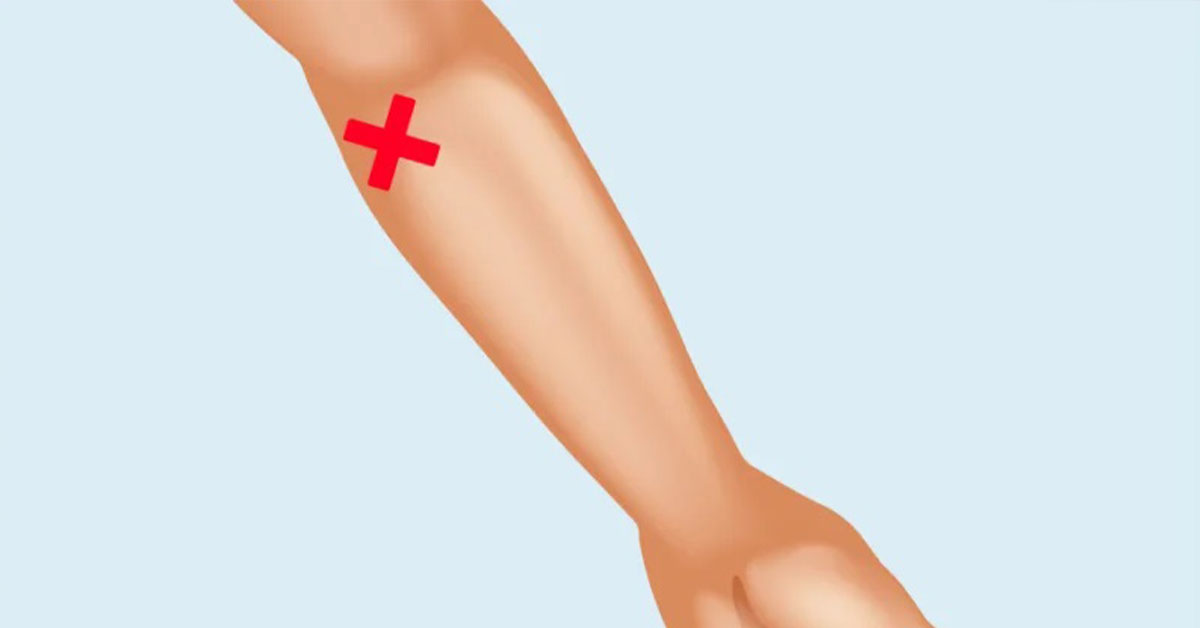
Brachial Pulse Point
- Location: Near the top of the cubital fossa, a triangular area in front of the elbow.
- Significance: The major artery in the upper arm is used for measuring blood pressure and checking the pulse in infants during CPR.
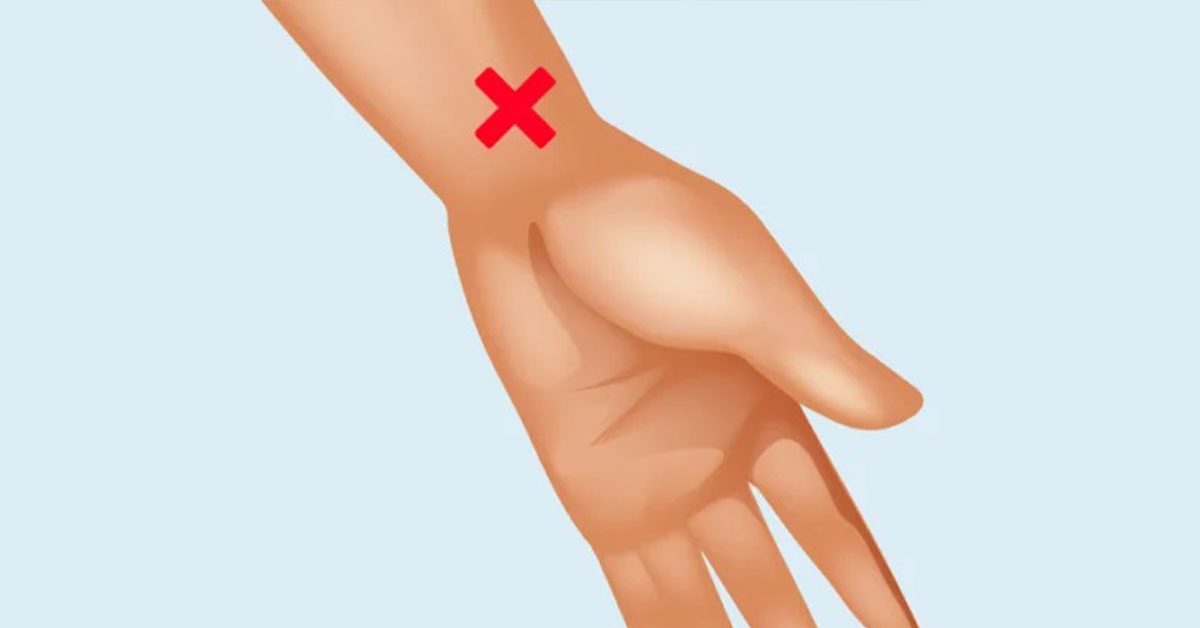
Radial Pulse Point
- Location: Below the thumb in the wrist area along the radial bone.
- Significance: The major artery in the lower arm is commonly used to count the heart rate in adults.
Femoral Pulse Point
- Location: Deep in the groin, below the inguinal ligament between the pubic symphysis and anterior superior iliac spine.
- Significance: Major artery providing circulation to the legs.
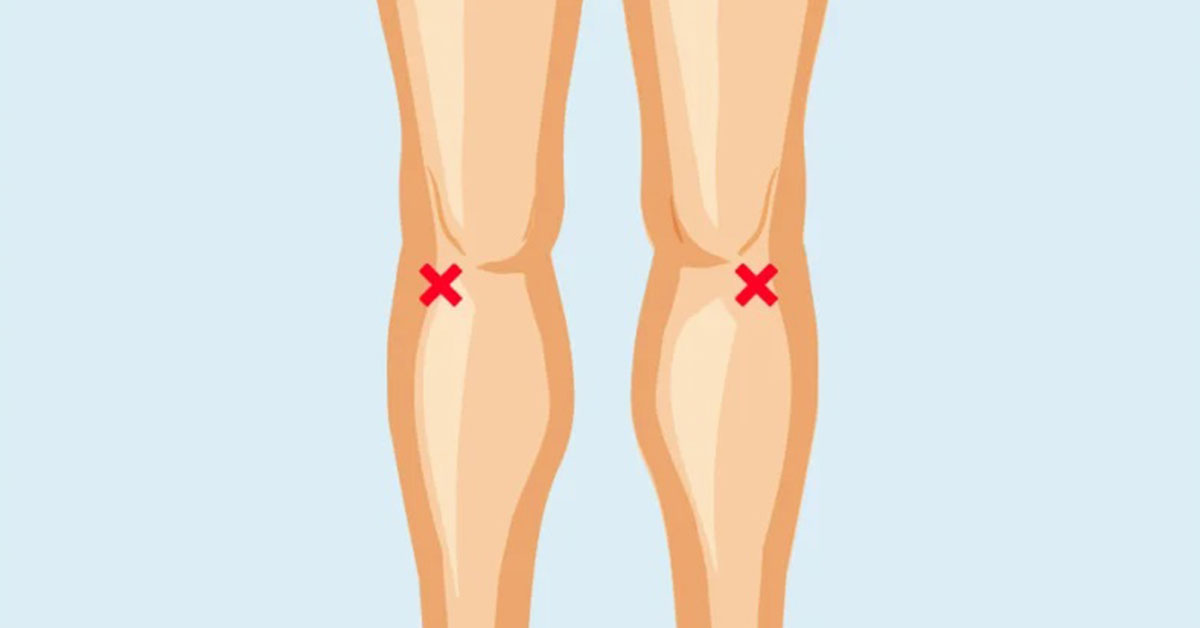
Popliteal Pulse Point
- Location: Behind the knee, near the middle of the popliteal fossa.
- Significance: The deep artery of the femoral artery is palpated, with the knee flexed.
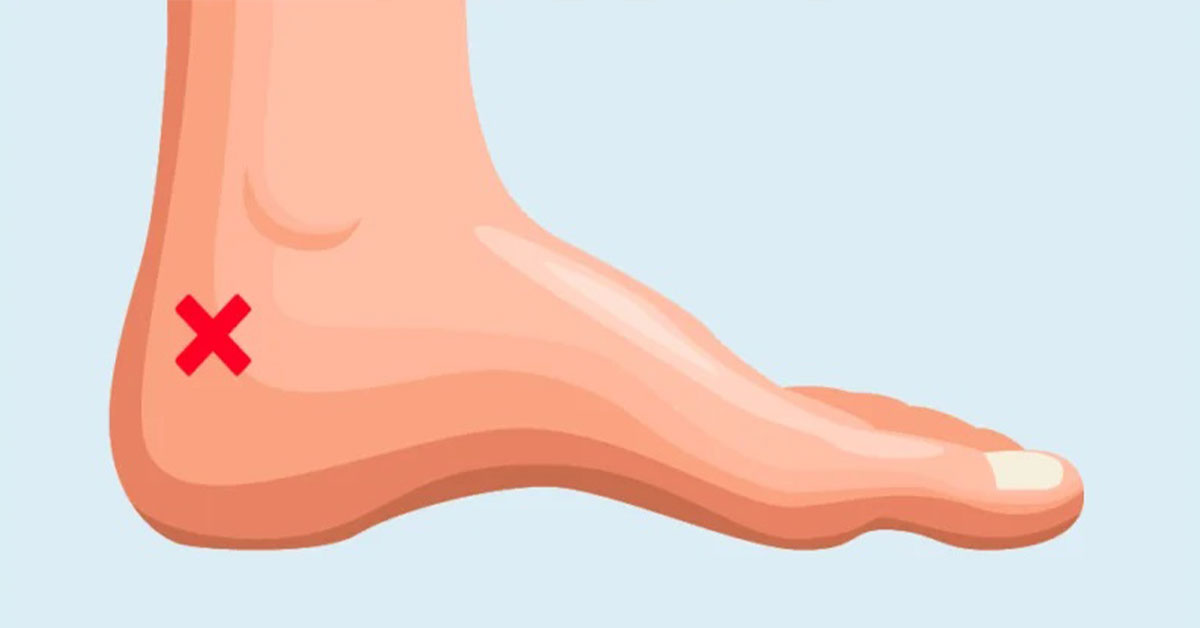
Posterior Tibial Pulse Point
- Location: Inside the ankle between the medial malleolus (ankle bone) and Achilles tendon.
- Significance: Assessed during head-to-toe evaluations, which is especially important in patients with peripheral vascular disease or those who have undergone vascular procedures.
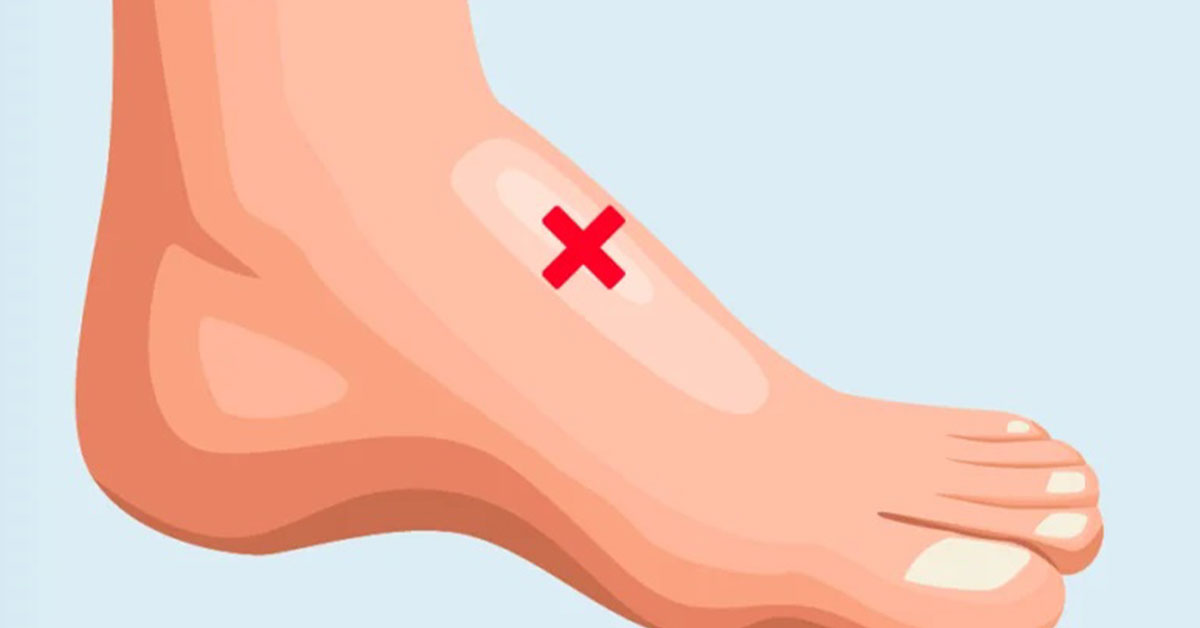
Dorsalis Pedis Pulse Point
- Location: Alongside the extensor hallucis longus (EHL) tendon, palpated by having the patient extend the big toe.
- Significance: Important for assessing circulation to the feet.
Practical Demonstration of Pulse Points
To ensure accuracy in assessing pulse points, follow these steps:
- Temporal: Position your fingers before the tragus and above the cheekbone.
- Carotid: Tilt the patient’s head and palpate below the jawline.
- Apical: Locate the sternal notch, palpate to the Angle of Louis, and find the 5th intercostal space.
- Brachial: Extend the patient’s arm, palm up, and find the pulse near the elbow.
- Radial: Extend the arm, palm up, and locate the pulse below the thumb.
- Femoral: Palpate deeply in the groin area.
- Popliteal: Flex the knee and palpate behind it.
- Posterior Tibial: Locate the pulse between the ankle bone and Achilles tendon.
- Dorsalis Pedis: Palpate along the EHL tendon by extending the big toe.
Conclusion
Mastering the assessment of pulse points is essential for nurses, aiding in accurate patient monitoring and care. Regular practice and familiarity with these pulse points will enhance your proficiency and confidence in clinical settings.